Paneling a Surface Manually
by Tuğrul Yazar | May 11, 2012 00:50
Digging out with Grasshopper, Rhinoscript, and Paneling Tools, everything seems to be more and more automated and fast. However my colleagues Mete, Benay and Elif reminded me that, we can always do much with those high-end architectural geometry tools, but we still have to understand and follow the roots, probably best described by the “manual ways”. Sometimes using these methods would be much more intuitive as they are SLOW enough for designers to think about what is going on there…
Here is a good example we experimented with our undergraduate students. One week after experiencing some sophisticated surface projection commands of the Rhinoceros such as flow on the surface and record history, this lecture was a flashback to its origins. The question was simple, can we still create any paneling design on flat or double-curved surfaces, without using additional plug-ins, scripting, or anything else other than simple drawing and snapping tools? Below is the starting point of that exercise.
Reminding me to slow down and think about the really important things in life.
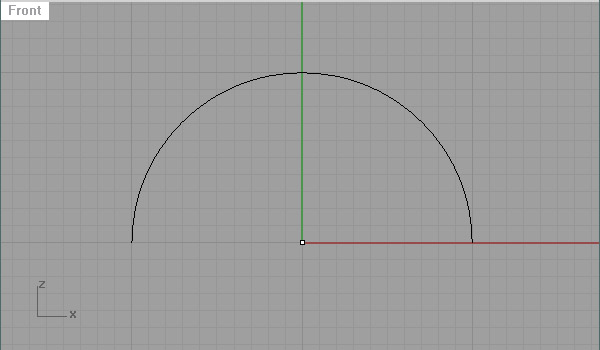
First, put a point to the origin of the design. Draw an arc.
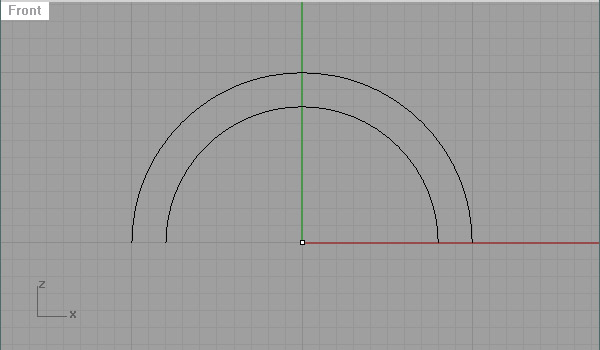
Draw a second arc to define the surface end.
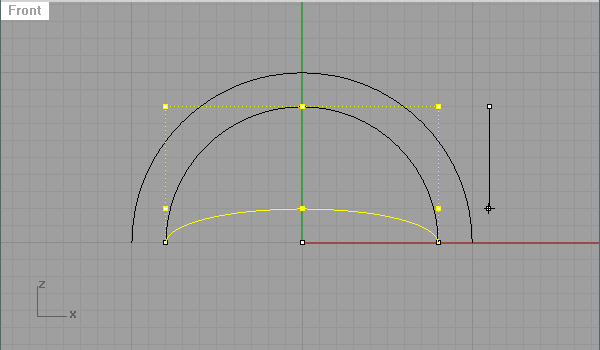
Manipulate the second edge, so that the surface would be a double-curved one.
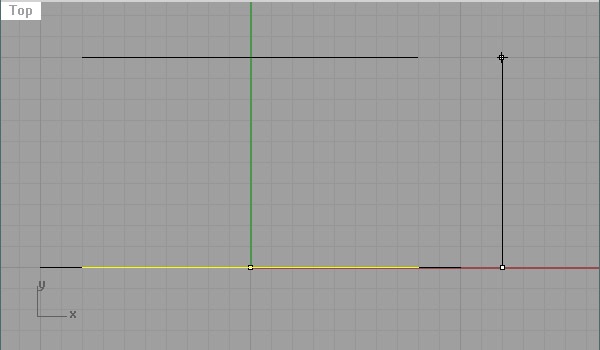
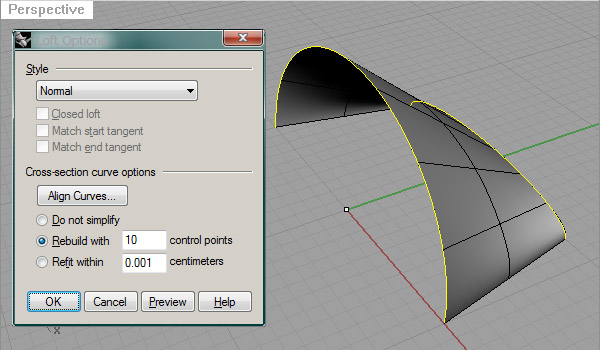
Just create the surface.
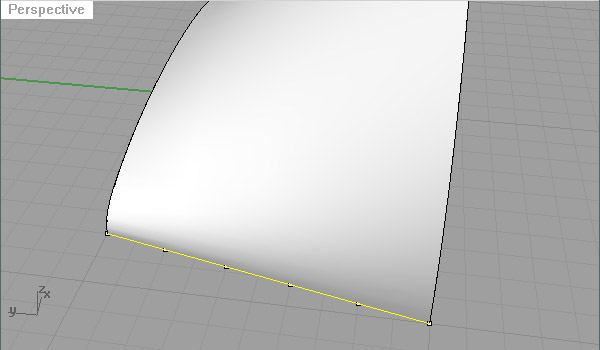
Now, put reference points and extract isocurves wherever you want.
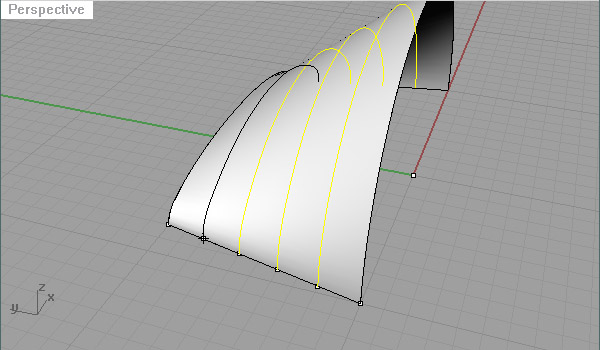
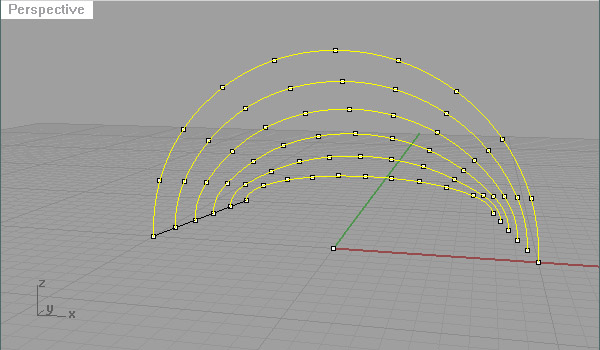
Then, divide those curves to create a paneling point grid. Looking at this from the start again, everything is now totally under your control, very much open to any manipulation or distortion.
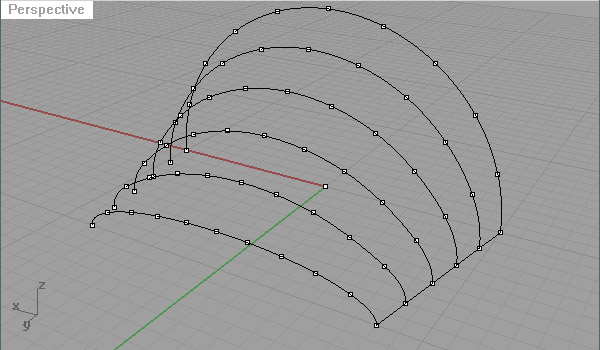
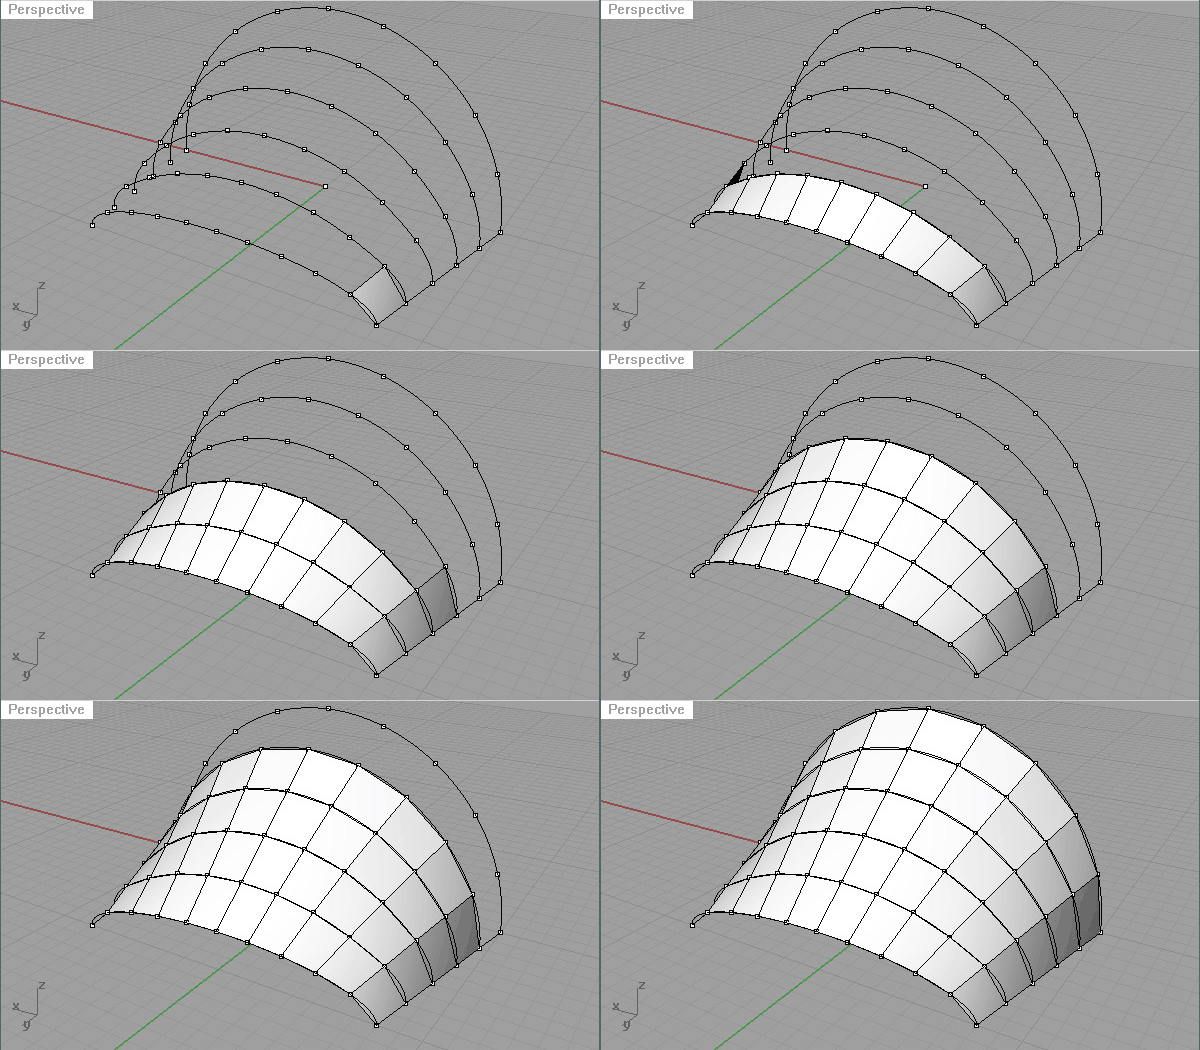
The rest is just 2d or 3d paneling of this (or other “layered”) grids. Here, again you don’t need any scripting. Just put non-planar quadrilateral panels or planar triangular panels one by one… Not automating anything. 50 quads or 100 triangles. One by one.
—
Sometimes it is better to slow down.
Source URL: https://www.designcoding.net/relax-take-it-easy/