Recording History in Rhinoceros
by Tuğrul Yazar | December 24, 2011 23:38
Recording History in Rhinoceros3D[1] has interesting potential. You might utilize it in the process of design exploration. We’ll try to show its concept and limitations;
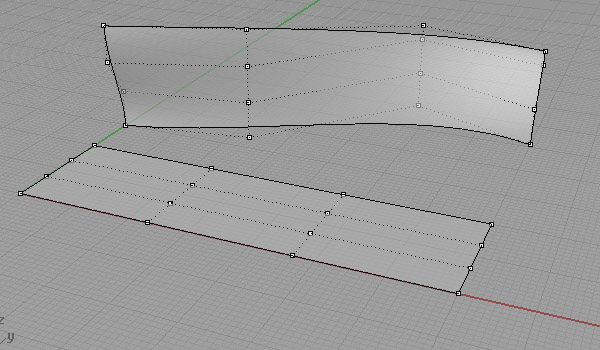
First, build two surfaces; one is planar at the world XY plane, and the other represents the “initial” form of your design.
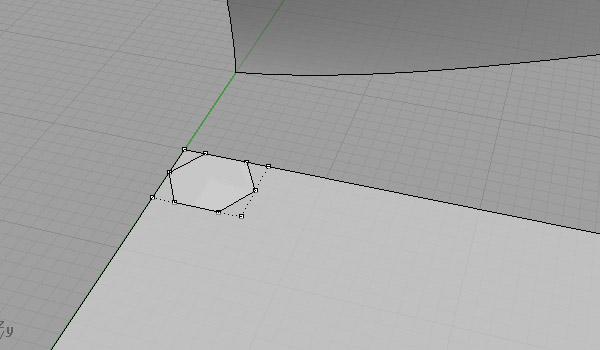
Put another surface on the planar one, as if it’s an ideal “component” of the finished geometric composition.
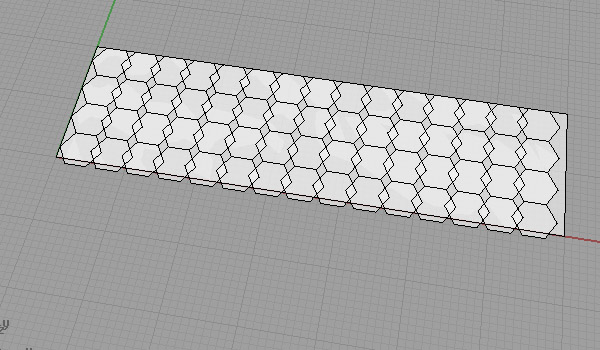
Activate the “Record History” button at the bottom of the Rhinoceros window, then array your component on the planar surface. You’ll see the Record History button automatically deactivated after that.
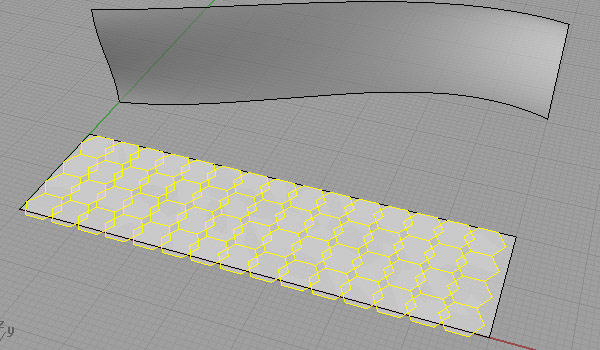
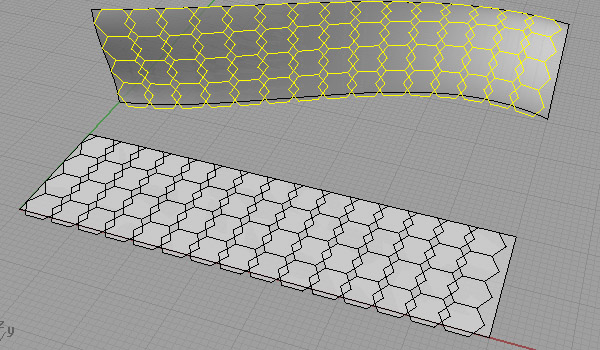
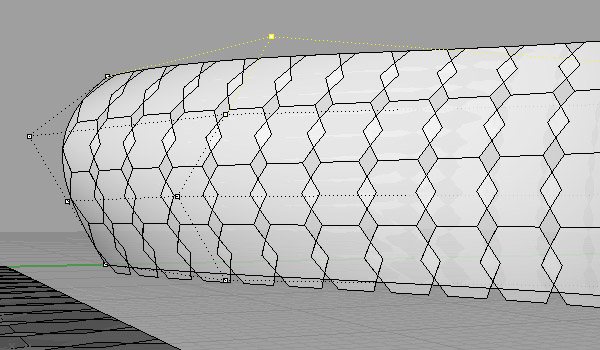
Now do the same thing while you flow your components along the free-form surface. Remember first to activate the button for recording history, then start the command. To see the available commands for Record History functionality, refer to Rhinoceros’ help file. After these two recordings, both of them will be automatically updated whenever you change the input of those commands. For example, you may manipulate your target surface of the flow along surface command. Also, the first recording is also active, while you change the shape of your component (by editing its control points). This way, you can update both the planar array and flow on surface commands. Here are the results;
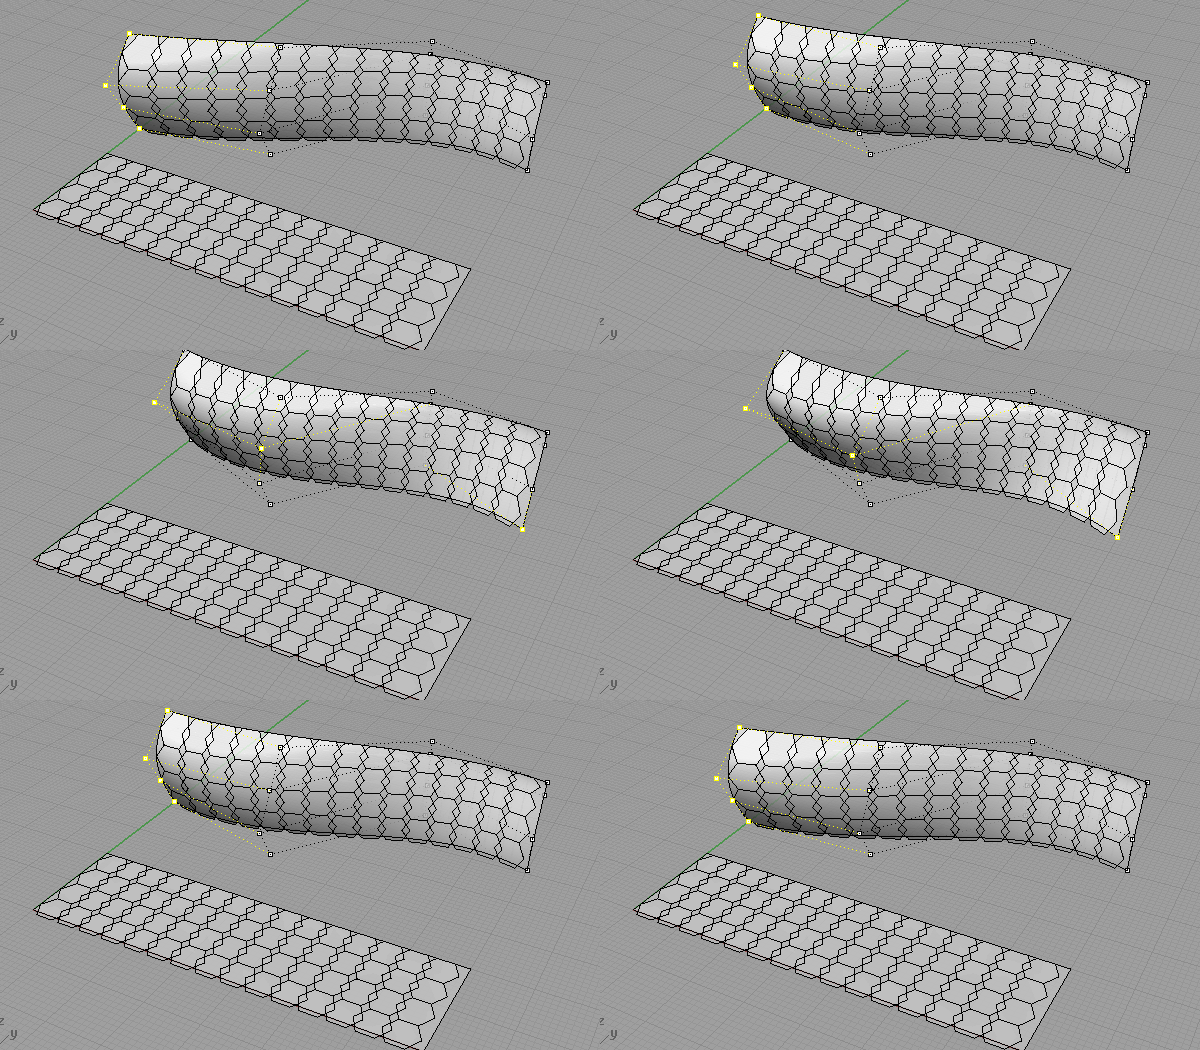
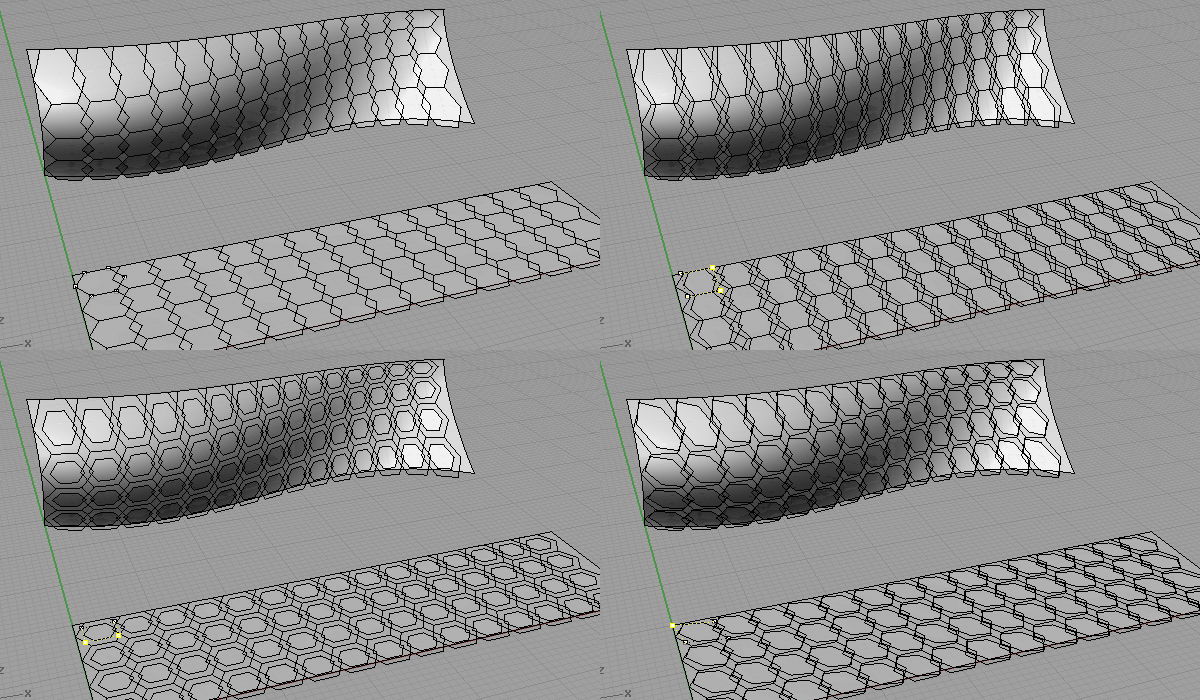
Remember not the “break history” by erasing your components. Although it’s an old and useful technique for design exploration, this functionality of Rhinoceros3D[2] is not very popular. However, this might be a good starting point for Parametric Modeling training.
- Rhinoceros3D: https://www.designcoding.net/category/tools-and-languages/rhino/
- Rhinoceros3D: https://www.rhino3d.com/
Source URL: https://www.designcoding.net/recording-history-in-rhinoceros/